
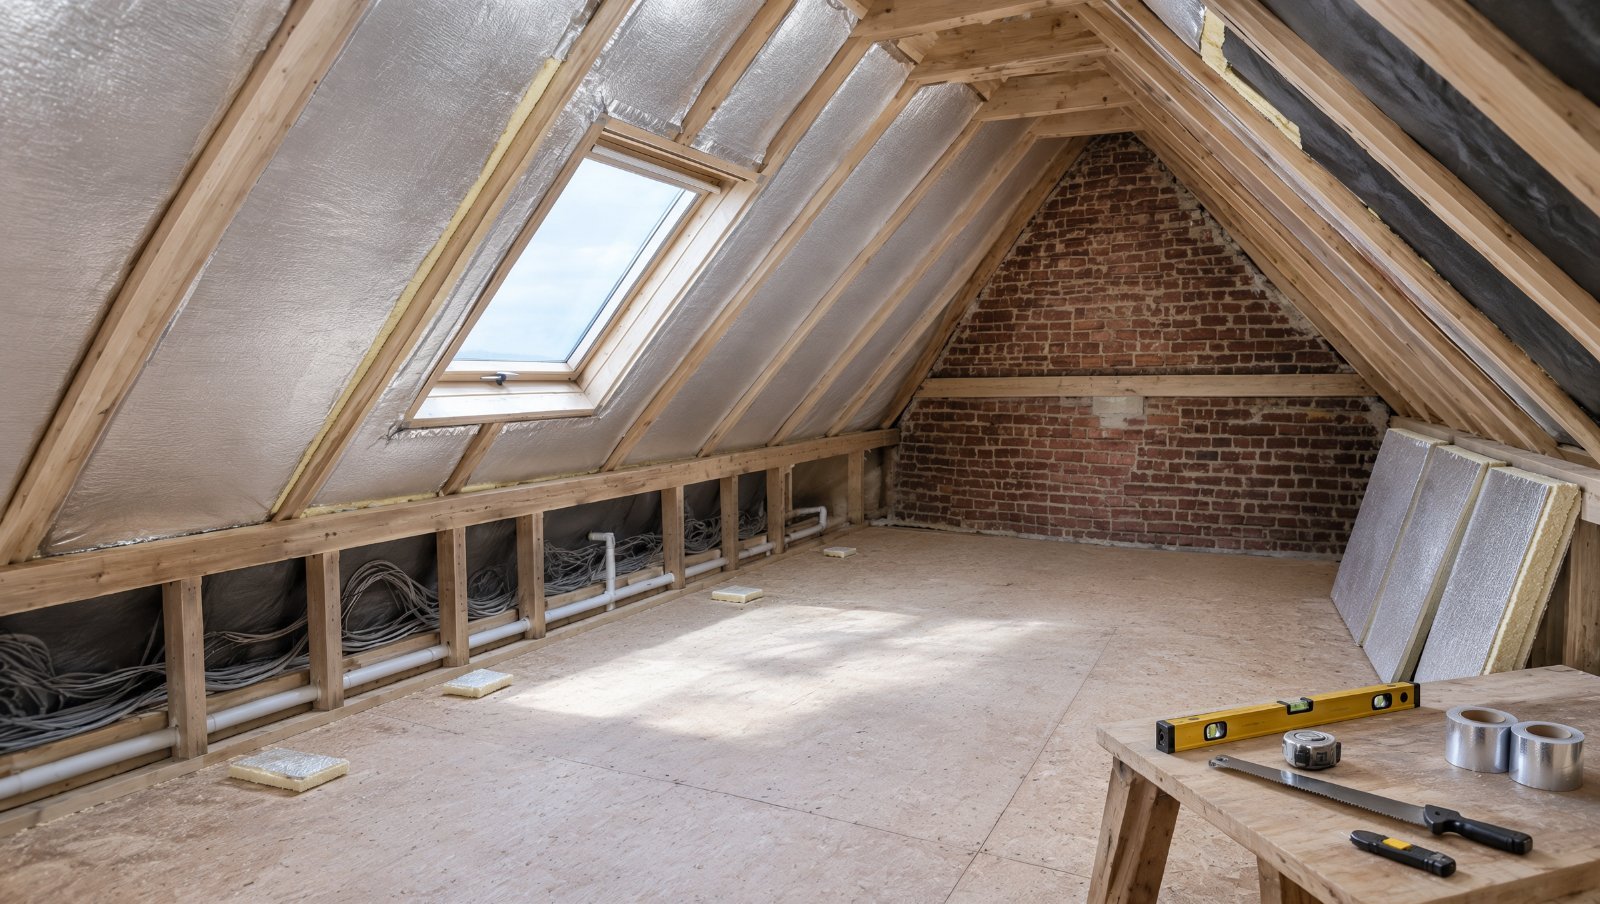
Quick answer: Here is how to insulate a pitched roof from inside. Fix any leaks or rot first. Fit insulation tightly between the rafters, keeping a ventilation gap if the roof has old bitumen felt. Add a second layer under the rafters to cut cold bridging, seal a vapour control layer on the room side and finish with plasterboard. This creates a warm roof.
Key Takeaways
- An uninsulated roof can lose around a quarter of a home’s heat.
- Insulating at rafter level creates a “warm roof” space, ideal for loft conversions.
- Ventilation and a vapour control layer are vital to prevent condensation.
- Part L of the Building Regulations sets the U-value your roof should reach.
Most UK homes have pitched roofs with a loft underneath. Without good insulation, a lot of heat escapes through the roof, making rooms colder and energy bills higher. Insulating from inside is a popular choice, especially when converting a loft.
We are Experienced Roofers Ltd, and we provide new roof installation in Whitchurch and across the surrounding areas of Bristol. This guide explains how to insulate a pitched roof from inside, step by step, including ventilation, vapour control and building regulations.
Cold Loft or Warm Roof Insulation: Which Do You Need?
If you use the loft only for storage, insulating the loft floor between the joists is usually cheaper and easier, aiming for around 270 mm of mineral wool. If you want to use the loft as a room or keep it warm, insulate at rafter level, between and under the rafters. This guide covers rafter-level insulation.
| Method | Where insulation goes | Best for |
|---|---|---|
| Cold loft | Loft floor, between joists | Storage-only lofts, lowest cost |
| Warm roof (from inside) | Between and under rafters | Loft conversions and heated lofts |
| Warm roof (from outside) | Above rafters, under tiles | Full re-roofs |
What Do You Need Before You Start?
Check the roof is dry and sound, fix any leaks first, measure the rafter depth and spacing, check what membrane is under your tiles and confirm the building regulations requirements with building control.
- Fix leaks, cracked tiles and rotten timber before you start.
- Measure rafter depth and spacing to plan insulation thickness.
- Check whether the roof membrane is breathable or traditional bitumen felt.
- Speak to Bristol City Council building control if you are converting the loft.
Tools
- Tape measure, straight edge and insulation saw or sharp knife
- Drill, screws and staple gun
- Timber battens if needed
Materials
- PIR insulation boards or mineral wool for between rafters
- Insulated plasterboard or extra boards for under rafters
- Vapour control layer and foil tape
- Plasterboard for finishing
Safety equipment
- Gloves, dust mask, safety glasses and long sleeves
How to Insulate a Pitched Roof From Inside, Step by Step
There are seven steps: prepare the loft, measure the rafters, plan the ventilation gap, fit insulation between rafters, add insulation under rafters, fit the vapour control layer and finish with plasterboard.
Step 1: Prepare the loft
Clear everything out of the loft and lay boards across the joists to create a safe surface to kneel on. Remove any old, loose insulation stuffed between the rafters. Then check the underside of the roof carefully in daylight with the lights off. Pinpricks of light, water stains, or soft timber mean you need repairs first. Find all cables, pipes and junction boxes, and move or protect them. Cables buried in insulation can overheat, so have an electrician check them if needed.
Step 2: Measure the rafters
Measure the depth of the rafters and the gap between them at several points, top and bottom, as old roofs are rarely consistent. Most UK rafters are 100 mm deep and 400 to 600 mm apart. Note any purlins, struts or chimney breasts you will need to work around. Use these measurements to plan the insulation thickness and to cut boards so they fit snugly, because even small gaps cut performance and can cause condensation.
Step 3: Keep a ventilation gap if needed
If your roof has traditional bitumen felt, leave a 50 mm ventilated air gap between the insulation and the felt. This lets moisture escape and protects the timber. With a modern breathable membrane, you may not need the gap, but follow the membrane and insulation makers’ guidance.
Step 4: Insulating between rafters
Cut PIR boards about 5 mm wider than the gap, so they push in tightly, or use mineral wool batts cut slightly oversized. Set them back from the roof membrane by the ventilation gap, if needed, using small timber stops or battens to hold the line. Fill every gap around the edges with expanding foam or seal the joints with foil tape. If the rafters aren’t deep enough for the thickness you need, deepen them with timber battens.
Step 5: Add insulation under the rafters
Fix a second layer across the underside of the rafters. This is usually insulated plasterboard or 25 to 50 mm PIR boards, screwed through into the timber with long insulation fixings. This layer covers the rafters themselves, which otherwise act as cold bridges that let heat escape. It also helps you reach the target U-value without losing too much headroom. Stagger the board joints so they do not line up with the rafters.
Step 6: Fit the vapour control layer
Install the vapour control layer on the warm, room side of the insulation. If your insulated plasterboard has one built in, tape the joints with foil tape. If not, staple a polythene vapor control sheet over the insulation, lapping each sheet by 150 mm and taping every lap and edge. Seal carefully around pipes, cables and roof windows. This stops warm, moist air from the house reaching the cold timber and condensing, which is how rot starts.
Step 7: Finish with plasterboard
Fix plasterboard over the insulation with drywall screws into the rafters, about 150 mm apart. Tape and fill the joints, then skim or decorate. In a loft conversion, use fire-rated board where building control asks for it. Once the room is finished, keep the ventilation at the eaves and ridge clear, as the roof still needs to breathe above the insulation.
What Do the Building Regulations Say?
In England, Part L of the Building Regulations applies when you insulate or renovate a roof. For a pitched roof insulated at rafter level, the improved target U-value is around 0.16 W/m²K. If that is not practical, the roof must still be improved and should not be worse than 0.35 W/m²K. Lower U-values mean better insulation.
Loft conversions also need building regulations approval for fire safety, stairs and structure. Always check with building control before you start.
What Are the Benefits of Pitched Roof Insulation?
Insulating your roof keeps your home warmer, lowers heating bills, cuts carbon emissions, reduces condensation risk when done properly, and can add value. It is especially worthwhile in older Bristol terraces and semis with little or no roof insulation.
For independent guidance, see the Energy Saving Trust advice on roof and loft insulation.
Why Choose Experienced Roofers Ltd?
Poorly fitted insulation can cause condensation, damp and timber rot. A professional ensures the ventilation, insulation thickness, and vapour control are right and meet regulations. Before insulating, it is also worth checking the roof covering itself. Our City & Guilds-qualified team can inspect your roof across Whitchurch, Bristol, and the surrounding areas. See our roofing services in Whitchurch, or read about breathable roof membranes.
Insulation that has been soaked by a roof leak should be dried or replaced before you add more. See our guide on how to fix a leaking roof from the inside.
Frequently Asked Questions
Do you need an air gap with roof insulation?
With traditional bitumen felt, yes, a 50 mm ventilated gap is recommended. With a breathable membrane, the gap may not be needed. Always follow the manufacturer’s guidance.
How thick should pitched roof insulation be?
It depends on the material. To reach around 0.16 W/m²K at rafter level, you often need about 100 to 150 mm of PIR between rafters plus a layer under them. At loft floor level, about 270 mm of mineral wool is typical.
Is internal or external roof insulation better?
Internal insulation is cheaper and easier in an existing loft. External insulation suits full re-roofs and avoids losing headroom. Both work well when fitted correctly.
What is the best insulation for a pitched roof?
PIR boards give the best performance for their thickness. Mineral wool is cheaper and breathable. Wood fibre suits older homes where breathability matters.
Can I insulate my roof if it leaks?
No. Fix leaks first, or the insulation will get wet, and the timber may rot. See how to fix a leaking roof.
Make Sure the Roof Is Ready First
There is no point insulating under a roof that leaks or sweats. We can check the tiles, membrane and ventilation, and fix anything that needs doing before your loft work starts. Call 0117 345 9991 or book a roof check. See our new roof installation page in Whitchurch and our roofers in Whitchurch page.

Phillip Holland is the founder of Experienced Roofers Ltd, bringing 30 years of roofing and construction expertise to homeowners across Wiltshire. A certified roofer who has overseen hundreds of projects, Phillip writes to demystify roofing problems, covering everything from spotting early leak damage to choosing the right roofing material and knowing when it’s time to call a professional.